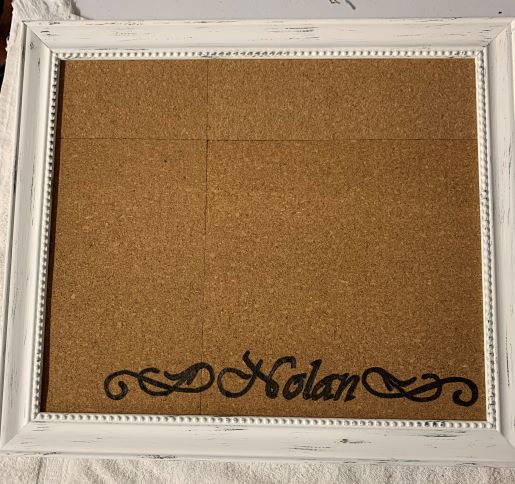
Personalized Corkboard Project
I’ve seen these available in various places for upwards of $40, so I decided I’d try to make one with my new wood burning tool to see if I could do it. They were Christmas presents, so now that they have been opened, I can post here! I love how they turned out and only wish I would’ve gotten an extra frame to make one for our house!
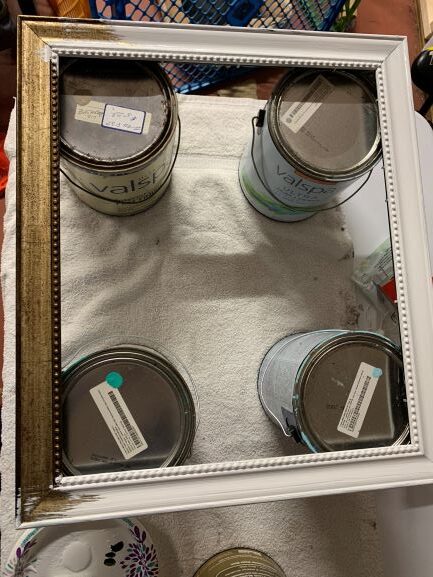
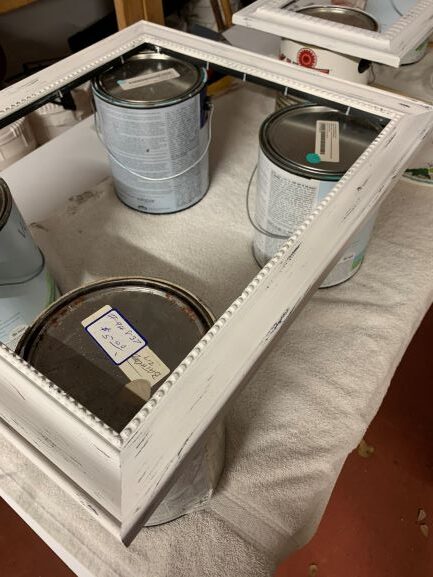
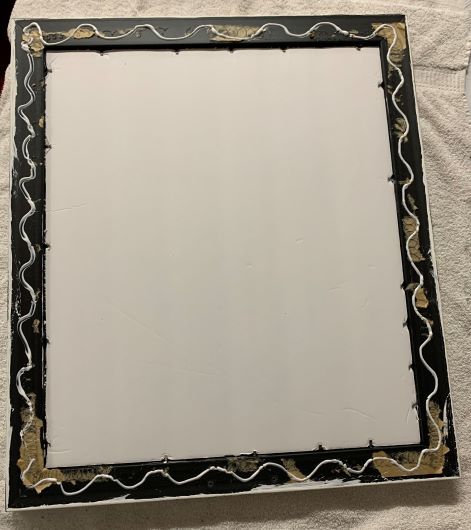
I had some 12×12 inch cork squares already, but you can purchase these about anywhere for under $20. Next, I went to a thrift store to find some frames. I knew they were going to be painted, so the color was irrelevant, but I wanted a good size and good design. I was able to purchase both frames for under $10, then went to work removing the glass and existing picture.
I also purchased a few pieces of foam core at Dollar Tree, as well as 2 pieces of white poster board.
After the frames were disassembled, I removed the picture hanging hardware so I could place it on the correct side after I placed the poster board.
I then painted them by using a few coats of white paint for a good finish. Because I was not at home when I made these, I only had the craft paint with me, but two good coats of white worked well. Just make sure to get the inside edge of the frame as well as it will be right next to your cork.
I also wanted somewhat of a farmhouse look to them, so I used some grey paint and a dry brush, using only a small amount and wiping the brush a lot before using it to add just a little grey to the frames.
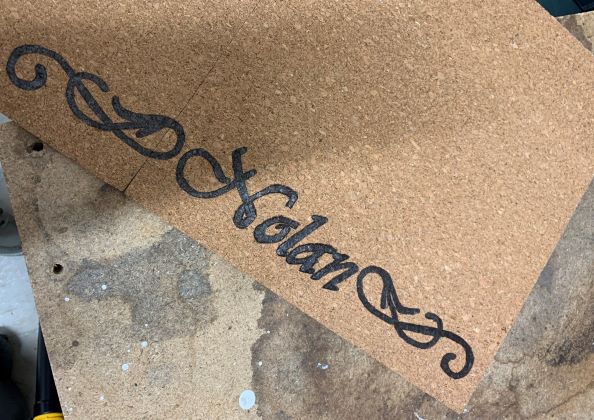
Next, I just went into Word and found a font I liked for the names and printed them out as a pattern. I actually printed a few times to get the size I wanted. I found some scroll clip art on Google and printed those as well for the sides of the names.
I took two squares and attached them with painters tape along the back since the name and scroll would cover more than one square and I wanted the transfer and burn to line up correctly in the frame.
Once I had the names and scroll work printed, I used the carbon tracing paper to trace them onto the cork squares. I did leave room on the side and bottom to account for the overlap in the frame. The tracing did prove harder on cork than on wood, so I had to fill in the entire name, not just the outline. And, as I completed a few letters, before I removed the template and carbon paper, I lifted it up and traced with a pen in areas where it didn’t come out as clear.
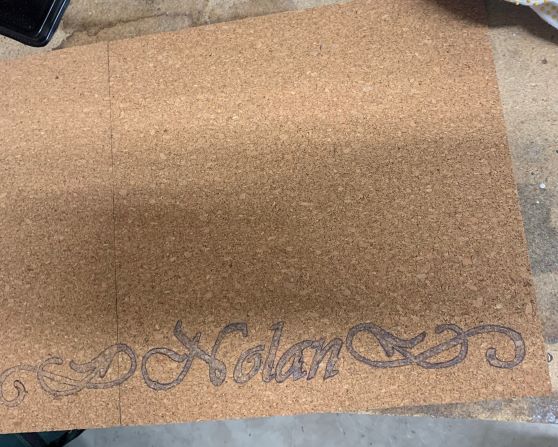
I then set the tool at 500 degrees and carefully went over the carbon/pen outline and filling in on the cork.
After the burning was done, I laid the cork panels face down and added two more for the one that was larger, again, using painters tape to attach along the back. Then, I measured the inside of the frame, marked the lines on the cork and used a box cutter to score and cut the cork. I did the same with the foam core as it would work as both a stabilizer in the frame, as well as a deeper surface for pins (if you’ve ever used cork panels, you know that they are not as deep as a regular push pin).
After the cork and foam core was cut, I used a craft glue on the back side of the cork to help hold it to the foam in the frame, then I placed them in the frame and pushed the pins back down to hold them in place.
Next, I measured the back side of the frame from edge to edge. I cut the poster board to fit the back, leaving about a quarter inch on all sides and used the craft glue around the back of the frame to hold it in place.
I laid them face up on a solid surface to let the glue dry, then came back and placed the picture hook back in place.
The only thing I would do differently on these in the future is to purchase either the rolled cork so there are no lines on the board, or use a larger cork piece, possibly an old cork board. And, if you don’t have a wood burning tool, I’ve seen these with vinyl. I’m sure you could also do them with paint or maybe even a sharpie! However, I think they turned out great and definitely want to make one for our house soon!

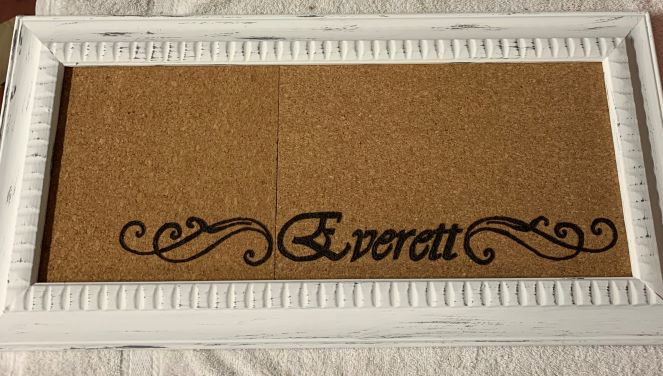
We love ours!!