
I finally have a cork board!
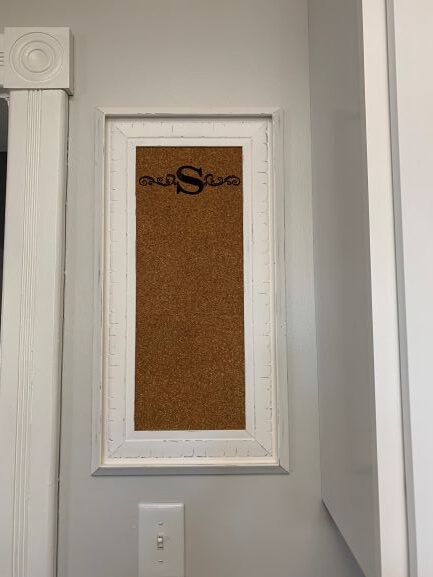
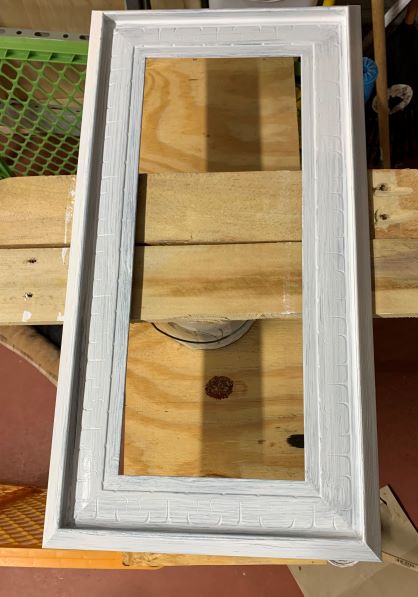
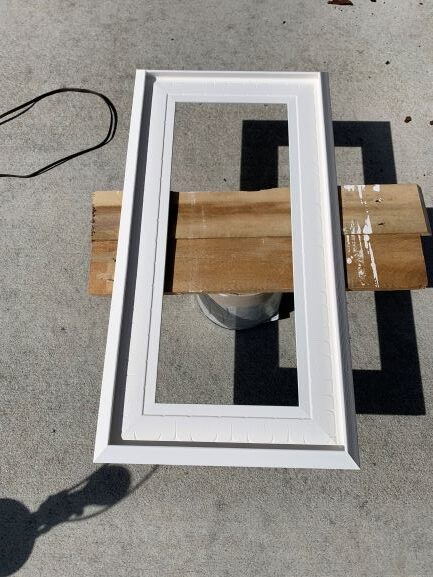
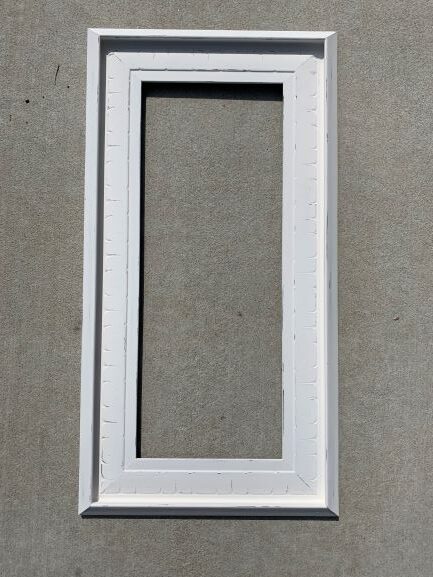
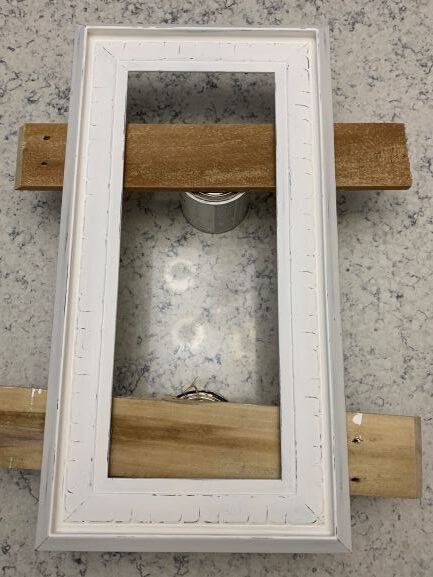
So, I loved the ones I made in November so much that I decided to make one for our kitchen. I was able to score another good frame at the thrift store for $5, and, I said I wouldn’t use the squares again, but someone gave me a stack of them, so FREE!! Of course the paint and wax I already had, so basically I just had to stencil the monogram then burn it, paint, distress and wax! Since ours was going to be hanging vertically, I only did a monogram instead of our last name, but I love how it turned out! I was able to get everything assembled this morning and it’s on the wall.
One thing I love about this frame (which started black and I forgot to take a before picture) is that it has a deep groove all the way around, so great place to hold extra tacks!!
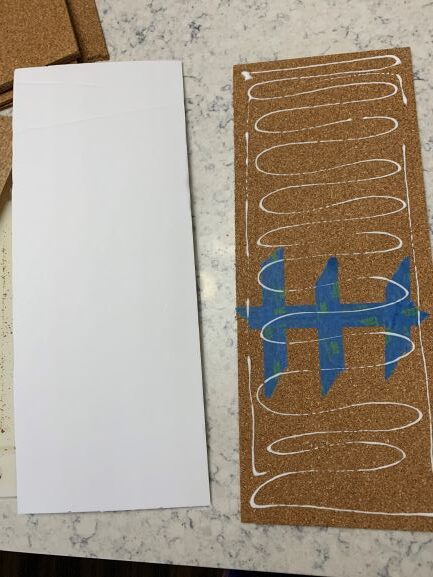
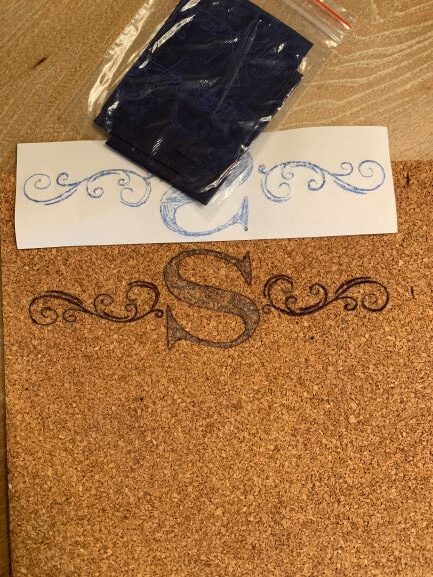
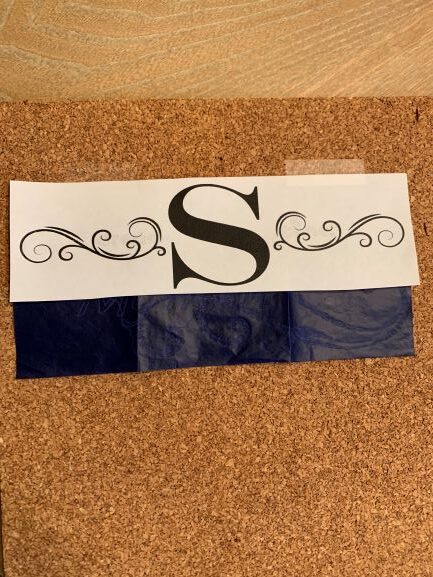
Since I already have a full how to on the other boards posted in the Craft Projects, I just wanted to throw in a few pics of the process on this one here, but the steps to create it are basically the same. The only difference on this one is that since I had packed my chalk paint with me, I was able to use it and distress with a fine grit sandpaper instead of painting the gray drybrush marks like I did on the others.
I am super happy with how it turned out! And, I’ve got another project complete that I hope to get posted tomorrow that I’ve wanted to do forever…another thrift store find that I think turned out awesome for something I haven’t done before!!