Refinished Dining Room Chairs
When we purchased our table and chairs, it only came with 7 chairs. So, that meant at some point, I would need to find at least one, but preferably 3 more chairs. However, for what we got, I was willing to go with it! I think we paid around $100 or $150 for the set from someone on FB Marketplace, so it wasn’t a bad deal at all for such a large table (and it had history too!). As I mentioned in the post about the table, I put the chairs off for quite a while, but in November, I finally started to get serious about getting them done. I knew I wanted to paint and distress them, just like the table. And, I knew the seats needed to be recovered as well as some padding added to them. I decided to just do a few at a time since it was cold and taking them all outside to paint was not really an option. So, my dining room became a paint booth for a while (quite a while actually)!
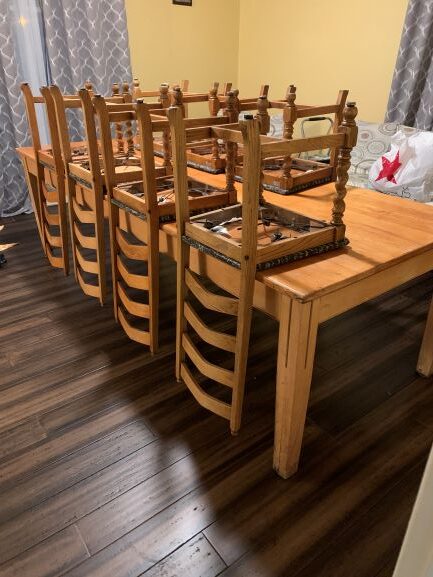
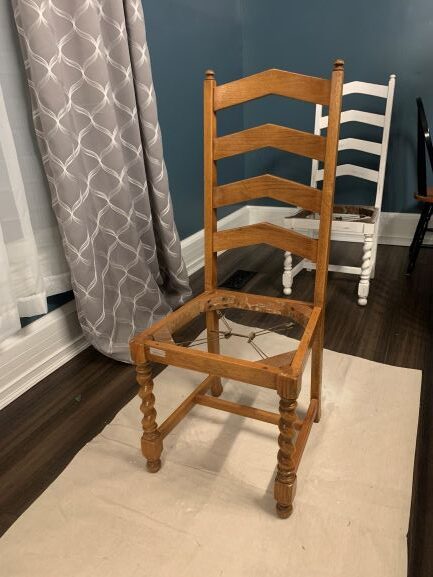
I laid out a drop cloth I had, and then took 4 of the seats off the chairs.

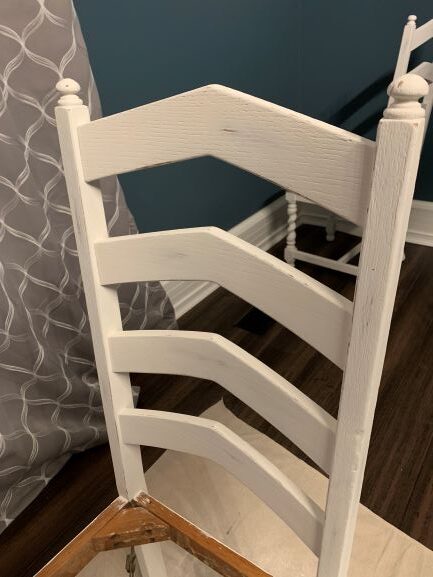
After I was down to just the wood chairs, I started painting. I would typically paint in the mornings before my kids got up so it was quiet and less chance of one of them running thru the paint! It took about an hour per coat, per chair to get the coverage I wanted since I was working with a brush (at one point, I thought about painting them with the sprayer, but as I mentioned, it was cold and I didn’t want to take the chance for splatters on hem).
After the three coats of white chalk paint, I sanded them in a few spots for a lightly distressed look, then dusted them with an old rag and waxed with the clear furniture wax. Sanding, dusting and waxing took 45 minutes to an hour for each chair.


It’s taken a while to get them all done because most days I may only get an hour, and some days, I didn’t get to paint at all! One of the best purchases I’ve made over the past year is a Tyvek Suit! I got the one that has the feet, so I can just slip it on right over my clothes and not worry about getting paint on me or having to change in and out of paint clothes! It’s a little big and my kids and husband used to make fun of me in it, but I think it was about the best $20 investment I’ve made! I also keep my brush in a zip lock bag in the fridge between uses so I don’t have to waste the time washing and waiting for it to dry all the time – saving time is huge when you have so much going on! Don’t judge me, but I think my brush has been in the same bag for nearly 2 months now….
After I got the first 4 chairs nearly finished, I started looking for material and padding to recover the seats. I went to a local chain craft store and couldn’t really find anything I liked enough to buy (or what I liked was really expensive). I was trying to keep this project on a tight budget like everything else, plus with two young boys, chances are, I’ll be recovering them again, so this was a ‘short term’ solution that didn’t need to break the bank. I also looked at padding, but WOW was that high! Just one square seat pad was $20! So, just to do the 7 chairs I had would’ve been $140, plus the other 3 I still needed to find! NO THANK YOU! We won’t even talk about the cost of the ‘cut to fit’ padding, though it was cheaper than the seats, it was still way more than I wanted to spend.
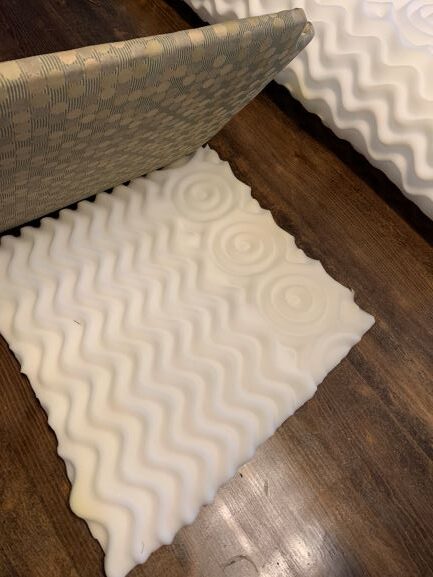
Then my mother reminded me that we had a fabric shop in town, so I headed there to see what they had. BINGO! They had a lot of great upholstery patterns, and even better, they had several ON CLEARANCE!! I found one that would work for $4 per yard!! So, with my estimate of ½ a yard per chair, I purchased 5 yards so I would have enough in the event I ever find 3 more chairs. While I was there, I asked the salesperson about padding and she told me they didn’t carry it. I mentioned to her that I had looked at this other store and they were really pricey and I was trying to get the chairs done as cheap as I could. Then she says ‘you could always get an egg crate mattress’. LIGHT BULB!!! And, that’s exactly what I did. I got an egg crate mattress from Walmart for around $20 and it would be enough for ALL the chairs!! So, minus the chalk paint and wax that I already had, my total spend for recovering the chairs was $40!! PERFECT!!
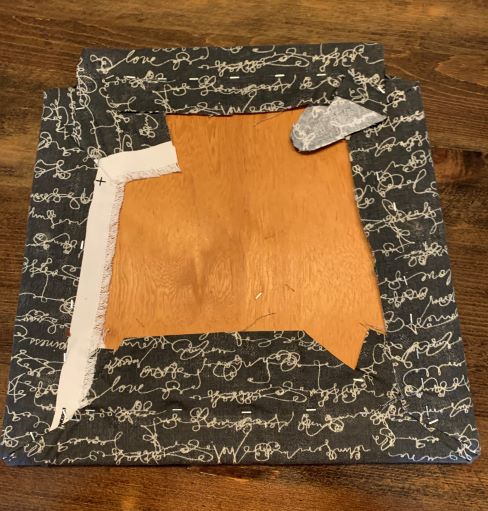
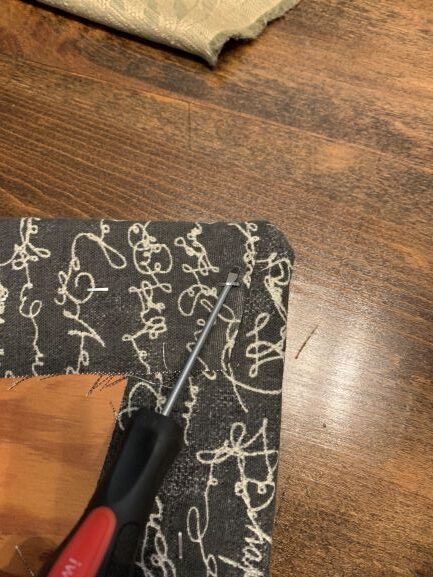
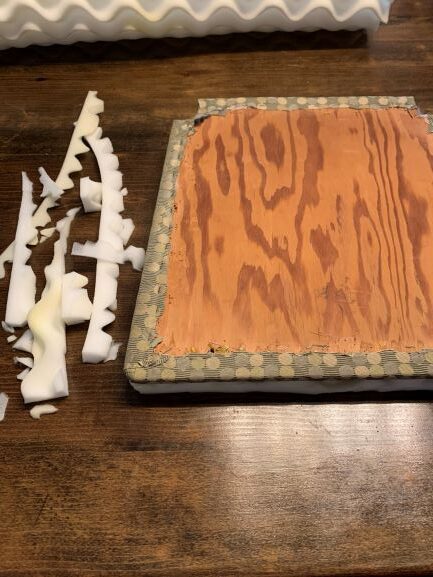
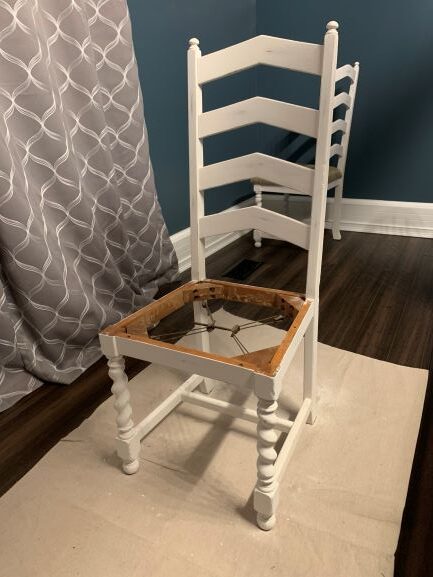
To recover the chairs, I started by removing the staples and material the previous owner had on them. I then found what was probably the original fabric from the library and attempted on one to remove it, but, since it was stapled a lot and glued, I just left it in place and removed only the black and white fabric.
Next I laid the seat on the foam egg crate and cut it to fit the seat with a good pair of scissors.
Before trimming too close, I flipped the egg crate to make sure the solid side was facing up and the uneven side was down facing the seat (I didn’t want the lumpy side showing thru the fabric).
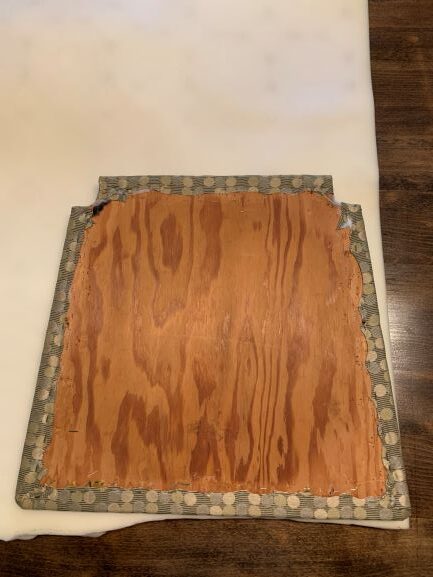
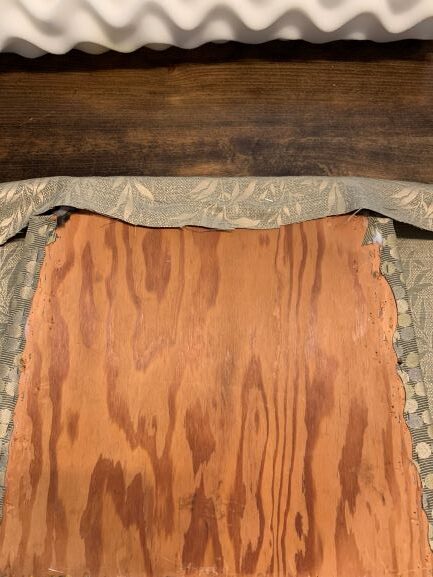
Then I laid the seat and padding on the material and cut a few inches wider than the seat from the fabric to make sure I would have enough to pull around and staple.

I started on one side, pulling the fabric up in the center and, using a staple gun and 1/4 inch staples, stapling to the underside of the seat. Then, I pulled the opposite side up in the center and stapled it. Then, I worked my way out on each side off the center staple, checking often for puckers and lumps to get an even look.
After the front and back of the seat were stapled, I moved on to the sides. I used the same process, pulling the center of each side and tacking, then working on one side at a time, working out from the center checking often for puckers (don’t try to lift up the seat, just lean over and check so you don’t have to re-position your fabric).
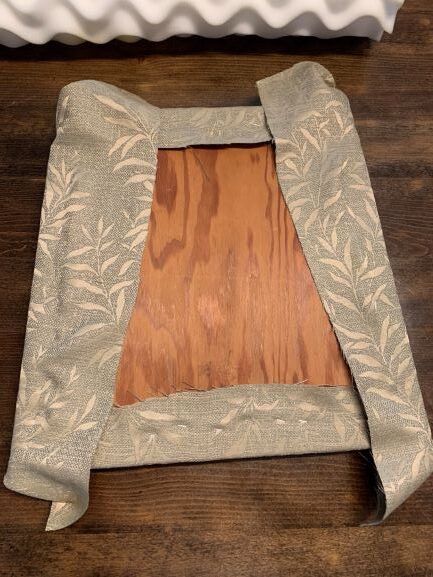
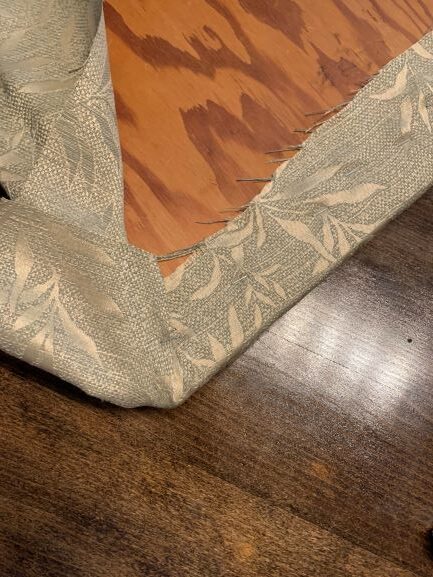
For the corners, you may need to trim some fabric to get a flatter fold, but I took one side over, then, I folded the other side back and toward the center some. I don’t think the order in which you do these matters as much as it does that you do all the corners the same for all the seats.

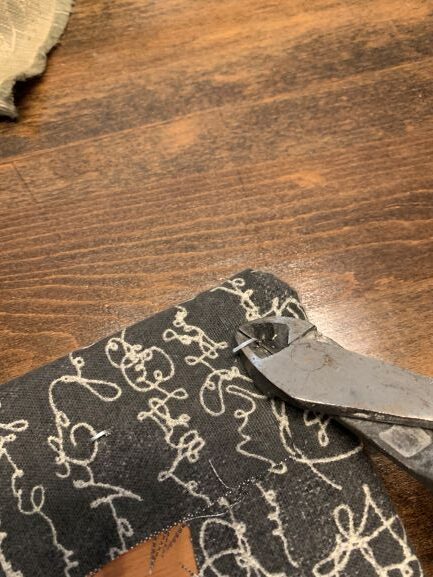
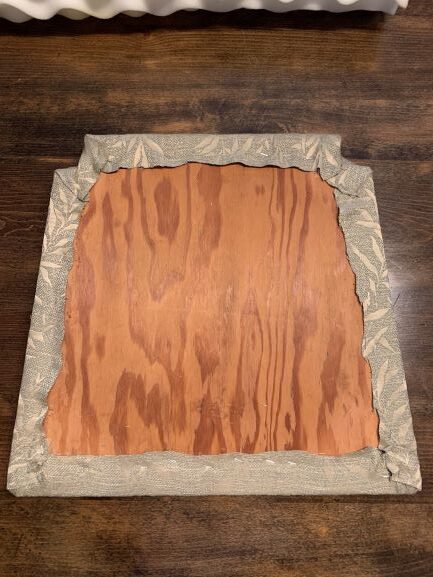
Last, I just trimmed excess fabric close to the staples and then took them all outside to be scotch guarded.
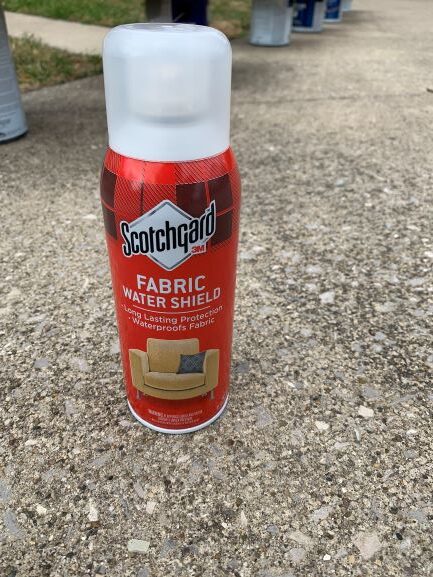
Again, having two young boys in the house, the chances of spills in our dining room are pretty good, so I picked up one can of Scotch Guard and placed each seat on a paint can spread out in the driveway. And, yes, I know this means I have too many paint cans:)
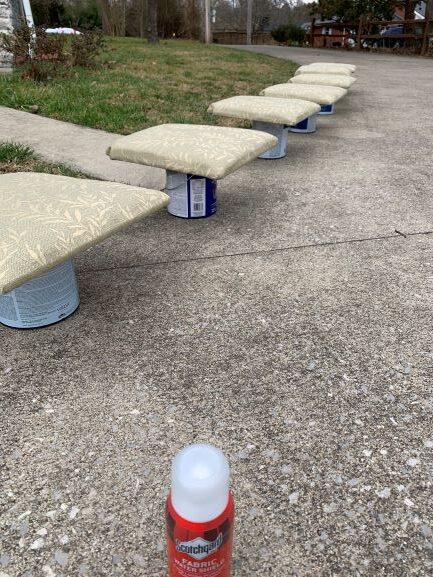
I just followed the directions on the can spraying evenly back and forth across the top, then spraying all sides. I left them outside to dry in the sun for several hours before bringing them in to reattach on the 4 completed chairs. The others I brought in along with the paint cans and set them in the dining room floor until the other chairs were completed.
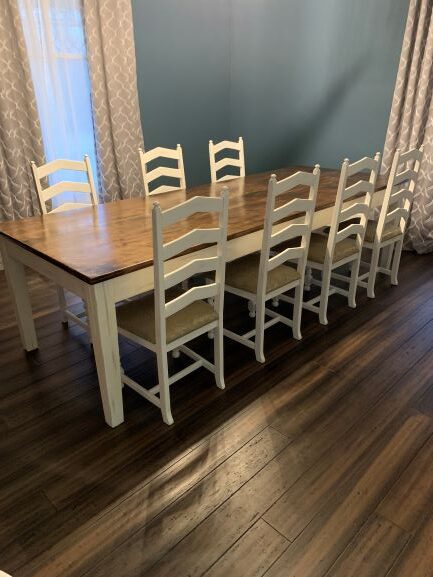
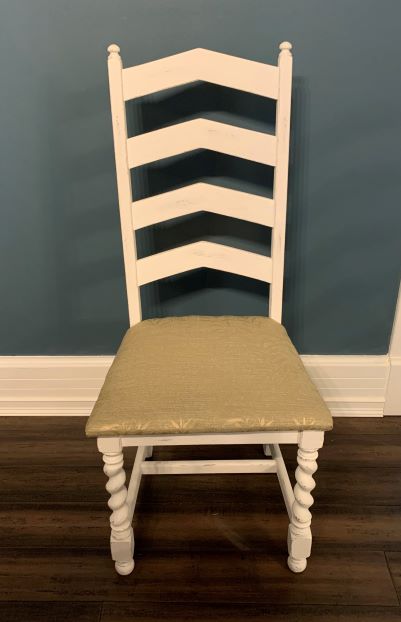
And, that day came as of this morning!! ALL 7 CHAIRS ARE COMPLETE!!
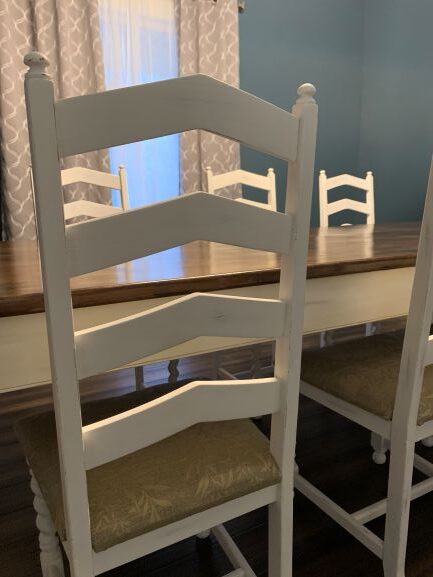
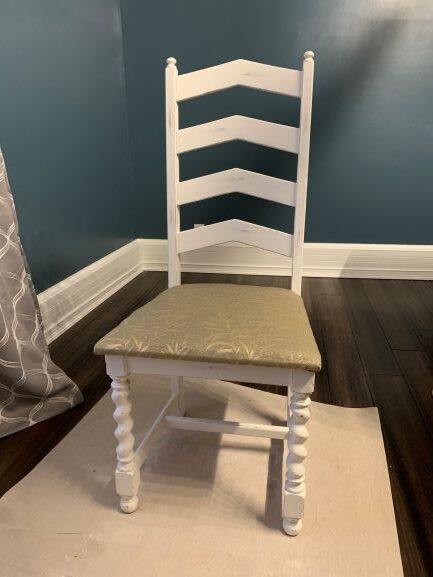

Overall, I’m thrilled with how they turned out! I think they are a little more uneven with the cushioning than I planned, but the material I used was a little thinner, so it would’ve taken several more staples to get them completely flat. And, knowing I’ll be recovering them in a few years, or less, I didn’t want too many staples in it.
Now….just to find 3 more chairs!